Hello everyone
Welcome back and a warm welcome to all our new MetMo members for this last week!
This week I wanted to spend some time and go through the process we used to transform the original Baumann-Weltrecord driver into what we have today. This is the part of the process we went through that lead up to the much-loved video of us making the prototype driver from scratch.
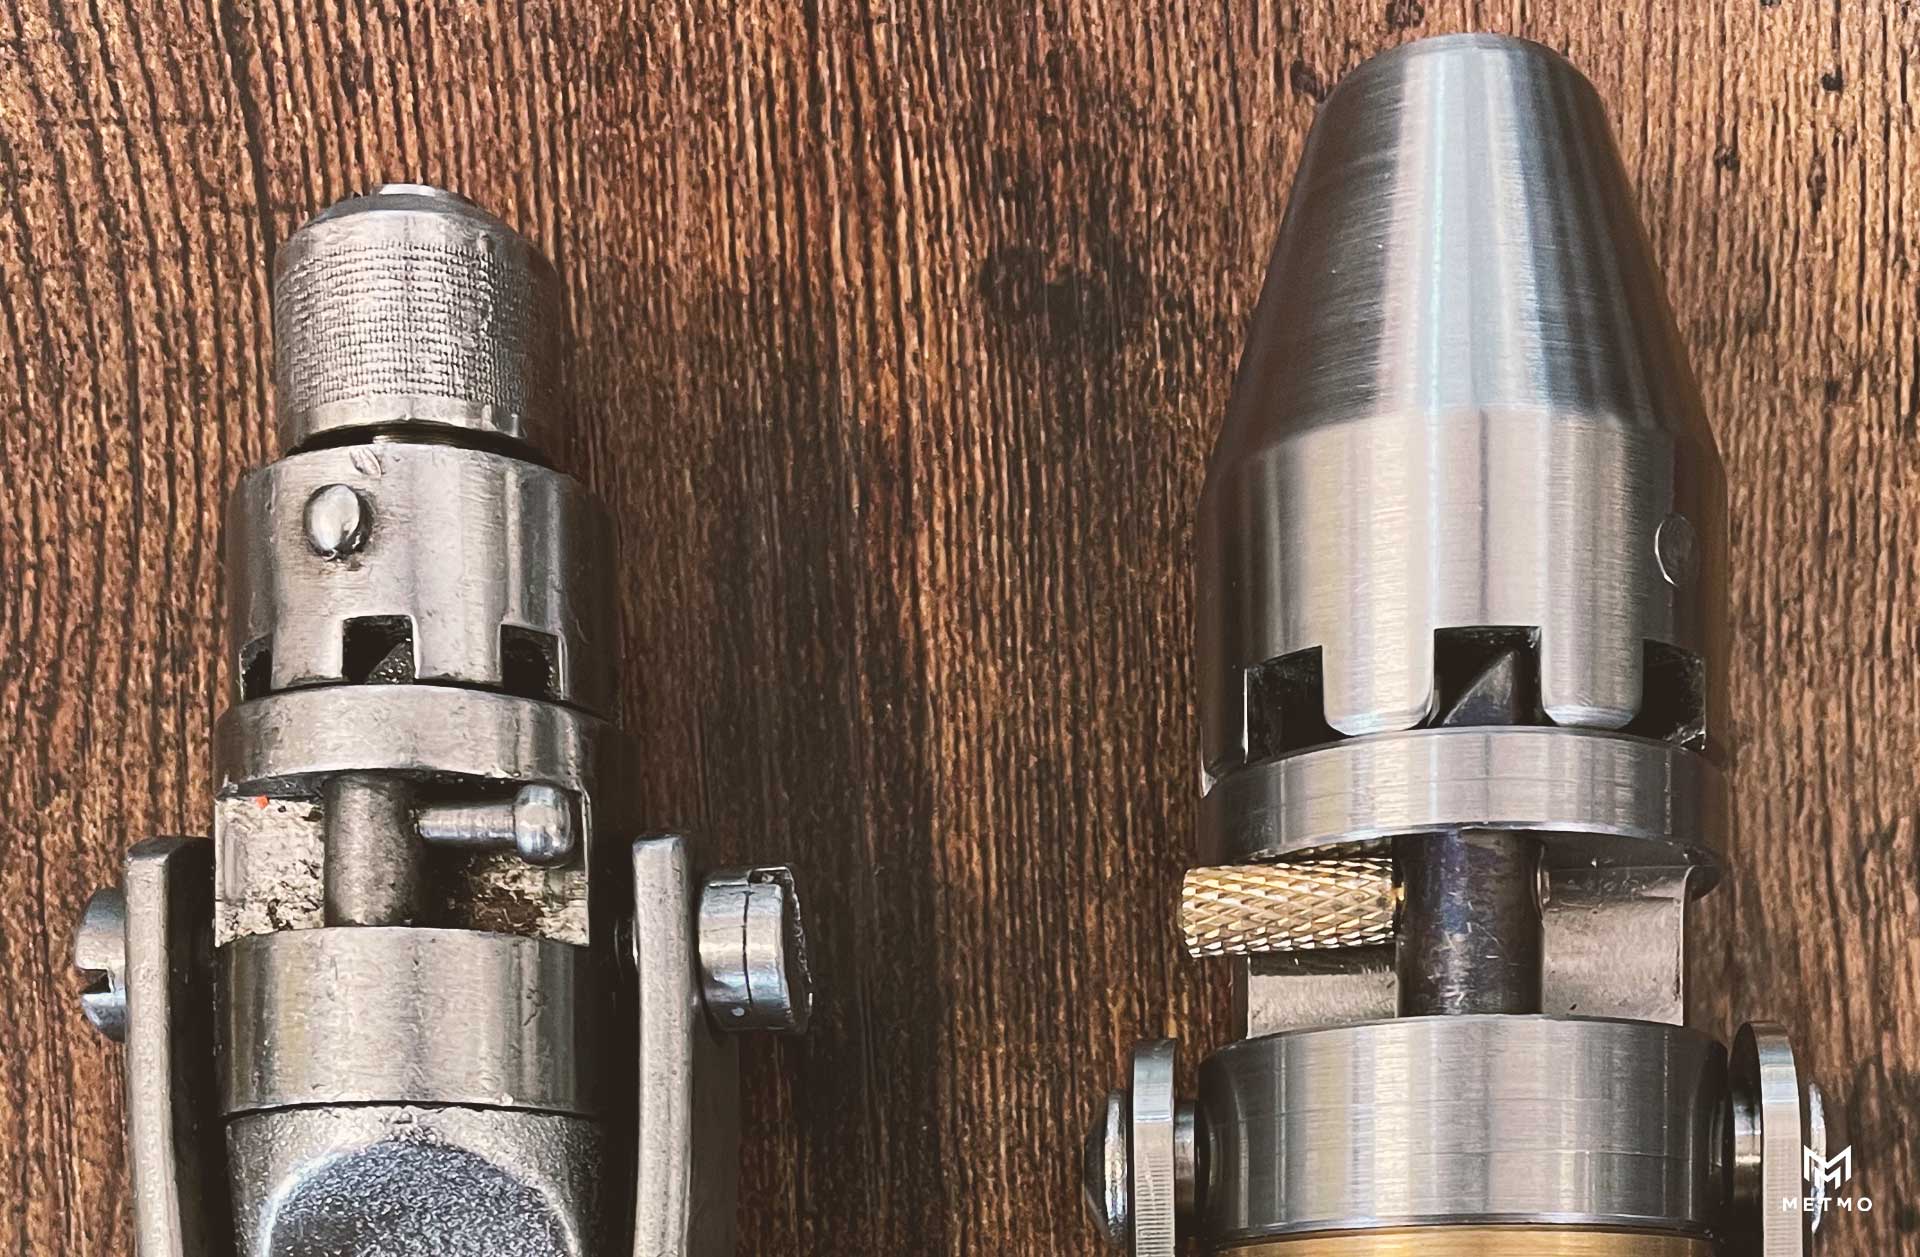
First out of the gates let’s have a quick compare between what we started with and where we got to.
We had 2 versions of the design to take inspiration from; a very early 1900’s model and a newer 1970’s version.

Taking a look at the original, you can see the 70’s design is slightly slimmer than our version, which was most likely a cost issue back when the tool was being produced. We preferred the look and feel of the earlier model, so we kept more to those sizes.
The adjuster pin to change from forward/reverse/locked is now a knurled brass component which is much easier to interact with than the original pin, especially on cold days in the shop when you’re in two pairs of gloves and full arctic survival gear!

The chuck and reciprocating pin have now been hardened to increase wear resistance and the much larger chuck has a broached hex drive with a neodymium magnet mounted internally to hold all standard bits. This was a major step forward from the old design which used specialised bits and a collet system which has long since seized on our unit.

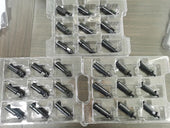
The original bits that would have come with Baumann's original
The free spinning handle has been helped along by the introduction of a brass bush and the size of the earlier model allows you to get much more weight behind it to prevent slipping and damaging a stubborn screw.
So that’s what we changed but I am sure you are thinking “didn’t you say how you designed it?!” and you would be right! So, after looking at the previous designs and the original patents that are slightly different from these, we set to sketching out a new look for our version.

Simple sketching got us most of the way for an idea of size, proportion, number of parts etc.
Then the real magic begins in converting everything into 3D. We use a program called Solidworks, that is engineering specific and is pretty good at translating everything over to CNC.

Modelling in 3d is great as it lets you test so many things before ever cutting anything. During this stage we developed how the handle would interlock, the size the ratchet would need to be, the spring size for the pin... basically everything!
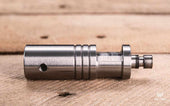
This is where we ran through a number of iterations, making prototypes on our 3D printer and testing how it worked and felt, then modifying the computer data until we had something near perfect.

These later 3D prints did actually work too! They started to show stress marks after extensive use and they would not handle anything heavy duty, but could dismantle plugs and wall sockets pretty well! And gave us an indication that we could move on to more robust prototyping.
Using the refined model we were also able to simulate various metal options and get it to the point where it could take several times more load than the original. The changes here were things like using specific stainless steels that could be heat hardened, and using tungsten-based tool steels for the small pin.
The result was the ability to up the torque from 20Nm to an impressive 73Nm, so even the strongest of arms shouldn’t be able to deform it (not that many screws could withstand that much force!)

Once we had done all of this we set to work and built one from scratch in the workshop. If you are new to the campaign and haven’t seen it, our second update has some great video footage of each step. You can watch it<< HERE >>

After discovering a couple of errors while making this, we made the needed amendments and got our manufacturer on board. At this point we were exploring a second option of this design, one that would allow for the handle to be removed and provide some storage for bits inside of the handle. So we produced one of these variations at the same time to test out the idea.

Sadly like most ideas this one was a fun experiment but didn’t really work well in practice as it would take such a strong magnet to hold it together and options of adding screws and buttons to release it would mean we'd have to sacrifice the sleek look and added cost we didn’t feel would be worth it for something that didn’t add much functionality.
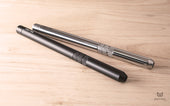
So we stuck with the handle that can be seen here.

These models were about 95% there, after using them extensively and building some testing rigs to double check our simulations were correct, we made some final tweaks to the thicknesses of the arm, the screws that hold that arm on and to the brass pin. As well as modifying some of the heat treatments so the parts perform better over a longer period of time.

The test rig was an interesting design challenge in itself, as we didn’t have access to powered testing machines we had to devise a way of putting 100kg on the arm whilst holding everything in place and measuring it accurately.
As can be seen, we went with a lever approach and a railway sleeper as the bed so it wouldn’t move too much. One of the hardest things we had to fight against was actually stopping the driver from either stripping the thread of the bolt it was holding on to, or physically twisting the metal of the bolt itself!
We did eventually mange to get everything sturdy enough and after a few tests we made some slight adjustments to the arm material and thickness, to the point where we were happy with its performance.
The whole process took around 6 months to get something that we are happy with and that worked reliably.
I hope you've enjoyed this update/deep dive into how we went from the original to the finished design. If you any any other questions please add them into the comments below I would be happy to help answer them.
Until next week take care and stay safe!
Thanks,
Peg and the MetMo team.
Share:
History Of The Baumann-Weltrecord
MetMo Helico Mk2